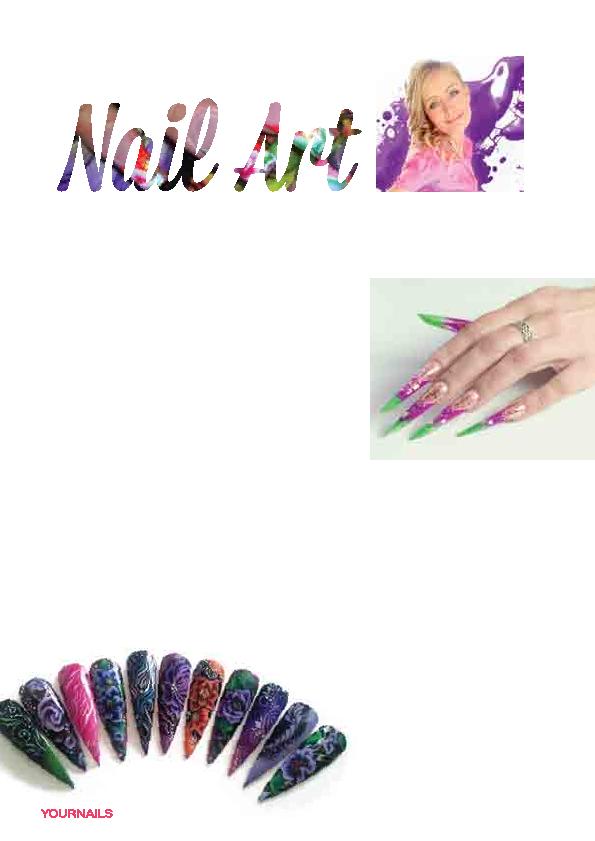
art of painting your finger and
toe nails using acrylic paints; the
painting is the most pleasant part
in the work of a nail stylist. For
each stylist this art plays a very
important role, and gives the
opportunity for artistic expression
and an outlet for the imagination.
However, it happens very often
that the final effect leaves much
to be desired. That is why I would
like to discuss a few basic rules
which should be considered
when creating nail decorations
using acrylics, or nail-art.
nail-art is the proper selection
of materials (which include the
paints and brushes) and creating
a composition, at least in your
mind, as an approximate outline
of the final decorative pattern you
aim to create.
SUCCESS
is half of your success. At the
beginning you can invest in the
basic paint colour palette which
you can then use to create
other colours. When choosing
the paints, it is important to
select them depending on the
degree of pigmentation. That is,
the pigment is the most crucial
ingredient in acrylic paints which
helps you to obtain a clear line
(paint). In order to be able to
paint in thin, clear strokes, you
must first dilute the acrylic paint
to make it a thin as possible (all
you actually have to do is to add
the appropriate amount of water
depending on the thickness of
the paint). It is also good to have
a mixing palette which you will be
use to dilute and mix your paints;
such a palette should be made of
apply when selecting a brush
is the hair the brush is made
of. The shape and size can be
selected individually, appropriate
for the technique you are
planning to use. For the one-
stroke technique, I recommend
flat brushes, sizes #2 and #4
and made of synthetic or mixed
hair, for thin lines choose a
round brush in #0 size, made
of natural hair such as a sable,
and for painting larger flower
elements and ornaments, I would
recommend a round brush, sizes
#1 or #2 also made of natural
hair.